User Interface
Unity provides users a friendly user interface, starting from the installation, designing the work to exporting the it.
Installation
The following are installation steps specific to the version Unity 2017.2.0f3, not old version 5.6.3. The installation step is similar with others tools (keep clicking Next).
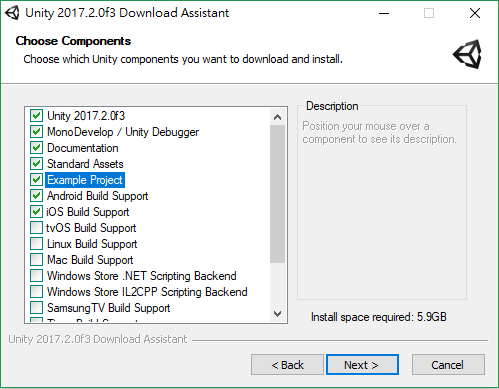
- The important change in the new installation version is that it provides component selection. It is easy to select several developing environment to install at the beginning. Recommanded components are
Unity 2017.2.0f3(main),MonoDevelop / Unity Debugger,Documentation,Standard Assets,Example Project,Android Build Support,iOS Build Support,Linux Build Support,Mac Build SupportandVuforia Build Support. (The old version installation does not provide such component selection to install. It requires otherssupport-for-editorplugins.)
- Recommand to
create a accountand sign in the unity.
- Unity provides users with two activation modes,
Unity (Plus or Pro)andUnity Personal. ThePlus or Proversion requires a commercial license but to provides you more tools. ThePersonalversion don't need license but to limit some tools, and is free to use. (In the document, the personal version is enough for the instruction.)
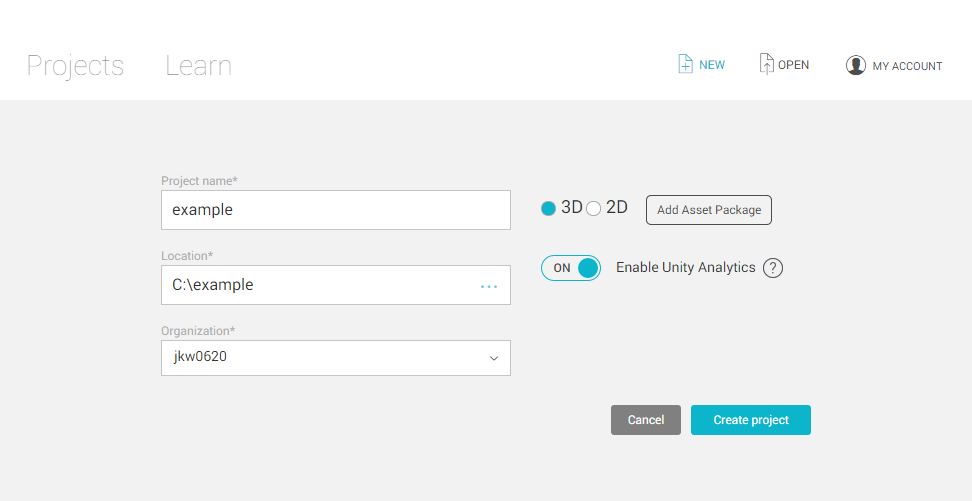
Create a New Project
It is easy to create a new project while clicking Unity and click the New button on the top of unity. Type information to the textbox Project name, select the project path on Location, choose a organization on Organization, and click Create project.
Operations
- The working window in Unity consists of several views with different features, and users can adjust the size or relative locations of them.
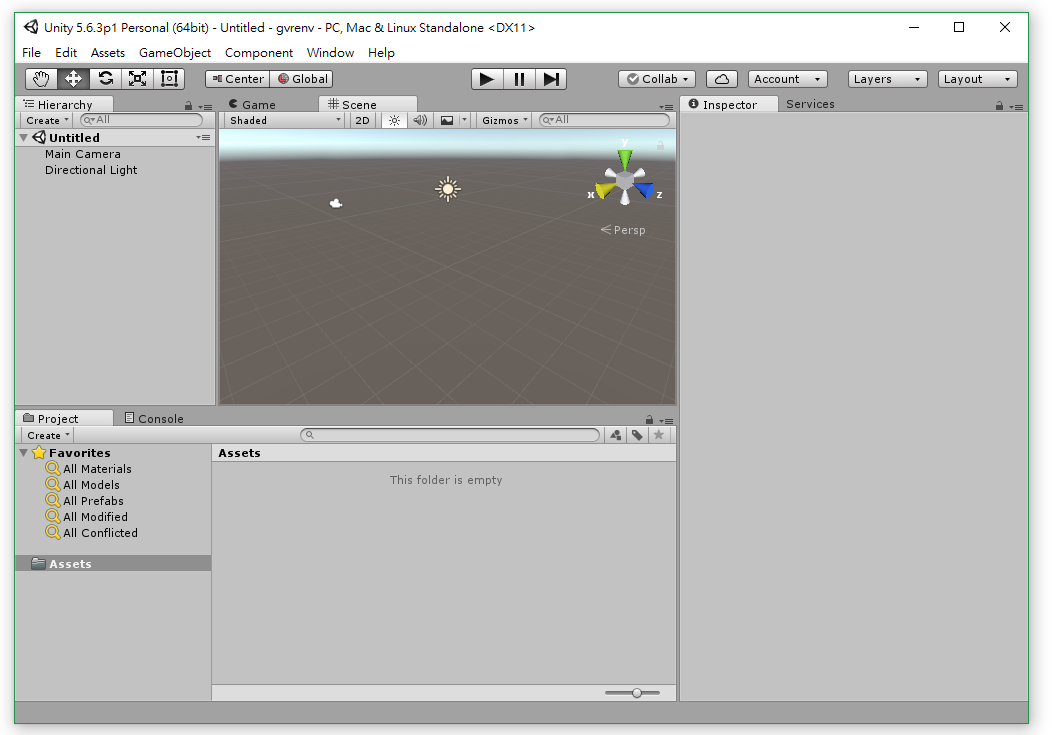
ToolBaris on the top of the window, provides usersMoving,RotationandScalingobjects.Transform Tools:Drag,Move by 3 axis,Rotate by 3 axis,Scale by 3 axisTransform Gizmo Toggle: switch objects intoselforglobalcoordinatesPlay Tools:Play,StopandResumeof the game view

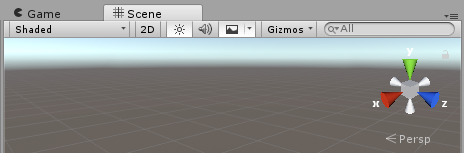
Scene Viewis the main operation zone. You can edit the terrain or import others 3D objects, including light, camera, or particle system, etc.- change
Persp(perspective) orIso(isometric) mode - click
2Dto switch 2D or 3D view
- change
Game Viewis used to test the execution. While playing the game, the game view of the player is presented by the camera, and the sound source is from the microphone of the camera, so there is at least one camera on the scene. If there is no camera, the view would be empty (dark). By default, there is one camera when you create a new project.- click
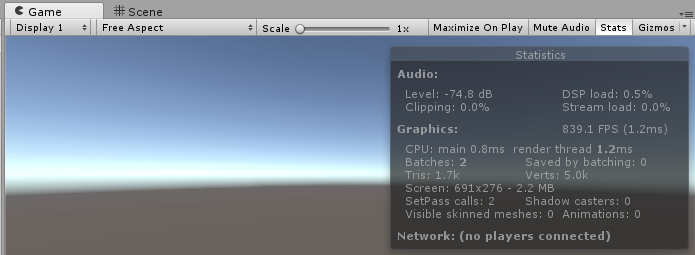
Statsto show the several resource information about the execution.
- click
Hierarchy Viewshows objects in the scene and their relative hierarchies. When you need additional objects or scripts to be added into the scene, the simple step is to drag it into the hierarchy view. By default, the object in blue text is pre-made, and the one in gray text is temp closed.
Project View: Unity conserves all objects of the project into the same directory. You can retrieve all of them on the project view. You can establish theScenes, pre-make thePrefabs, edit theScripts, import the3D Models, import theTextures, or import theAudioand manage all of them on the project view. If there are others resources that you want to import, they can be imported byAssets,Import New Assetand choose them.
Inspect Viewis on the right of the window, and it is used to set the attribute of the object, including name, coordinates, rotation angle, and scaling ratio, etc. On the other hand, it is also used to set parameters for those affecting the object attributes such like lighting, camera, collision, scripts, etc.
Layoutis used to change the view arrangement, including2by3,4Split,Tall,Wide, etc. You can rearrange the whole views and save it as the self-customized layout.
- [optional]
Skin(onEdit,Preferences,General,Editor Skin) is used to change the color of the operation window. It can change to Light (default in person version) / Dark (default in plus / pro version).